ComfyUI.org
news
workflow
tutorial
collections
blog
Change Language
切换主题
Login
Unlock the Art of Celebrity Photo Merge with Flux+PulID Technology
ComfyUI.org •
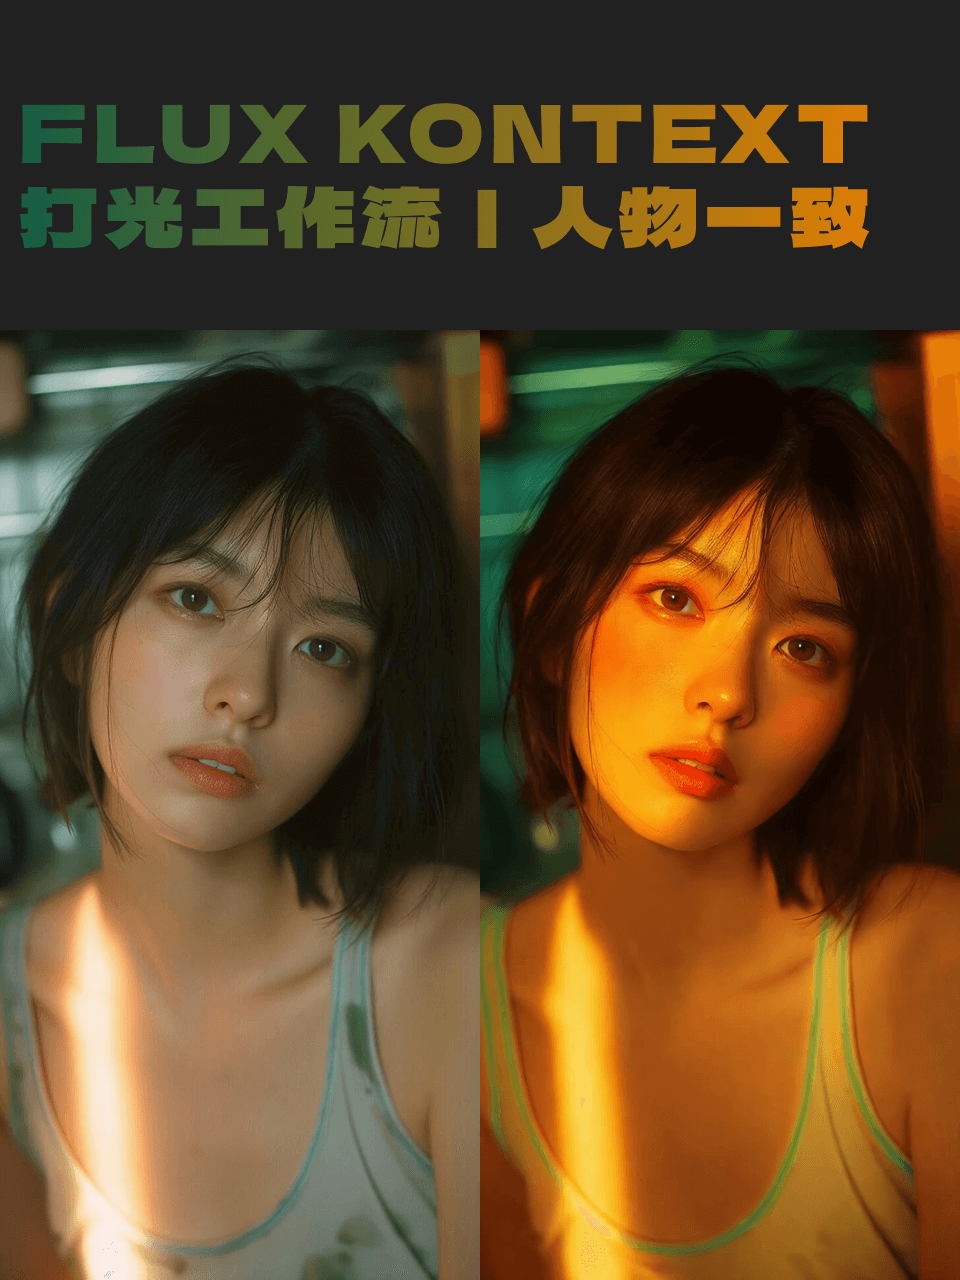
Elevate Your Portrait Game: Comprehensive Workflow for Advanced Facial Expression and Lighting
ComfyUI.org •
Manga/Novel Video Auto-Repaint Tool
ComfyUI.org •
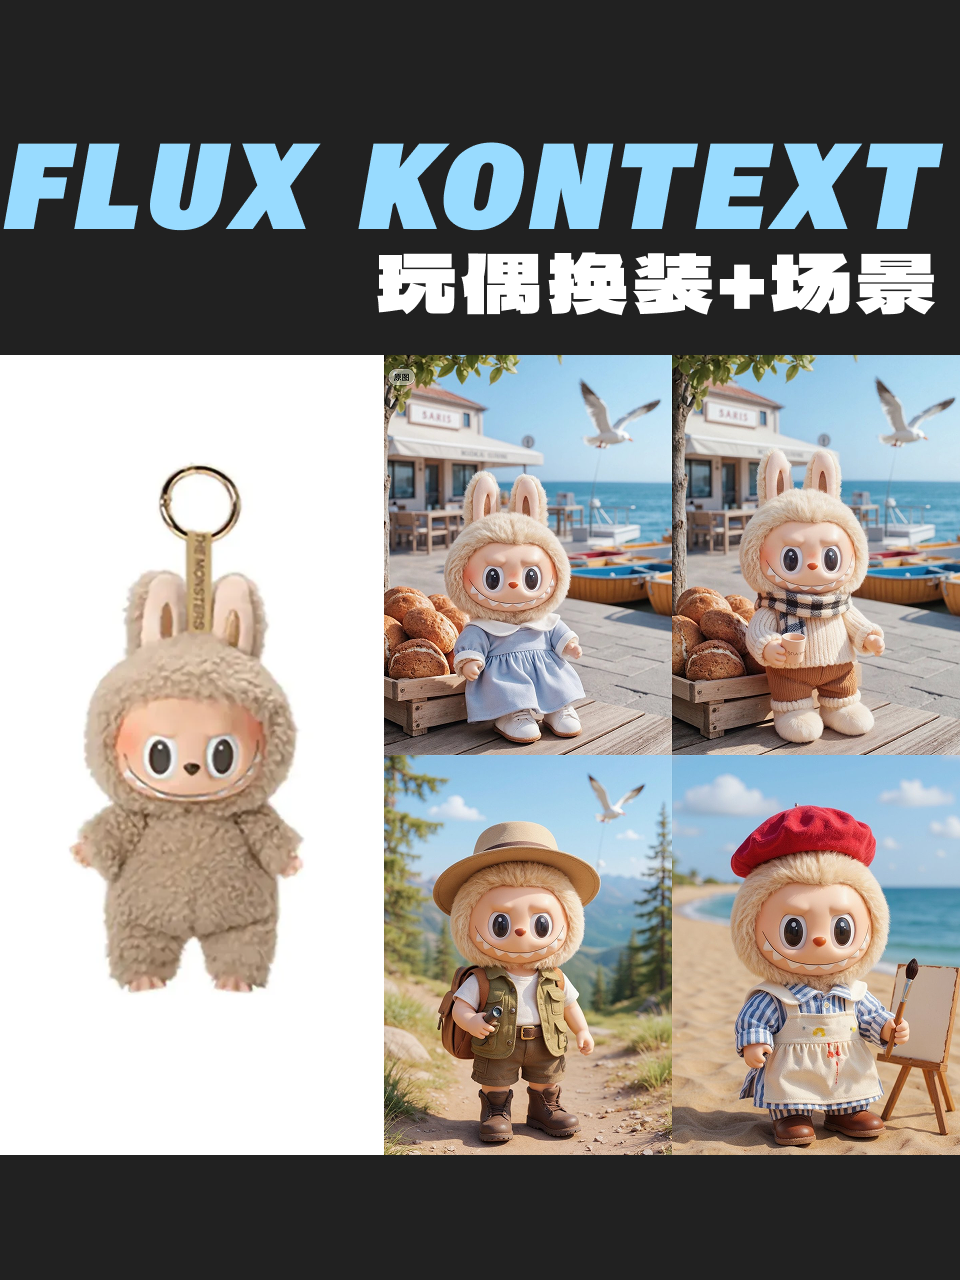
Unlock Endless Fashion Possibilities: Doll Outfit Customization Workflow Revealed
ComfyUI.org •
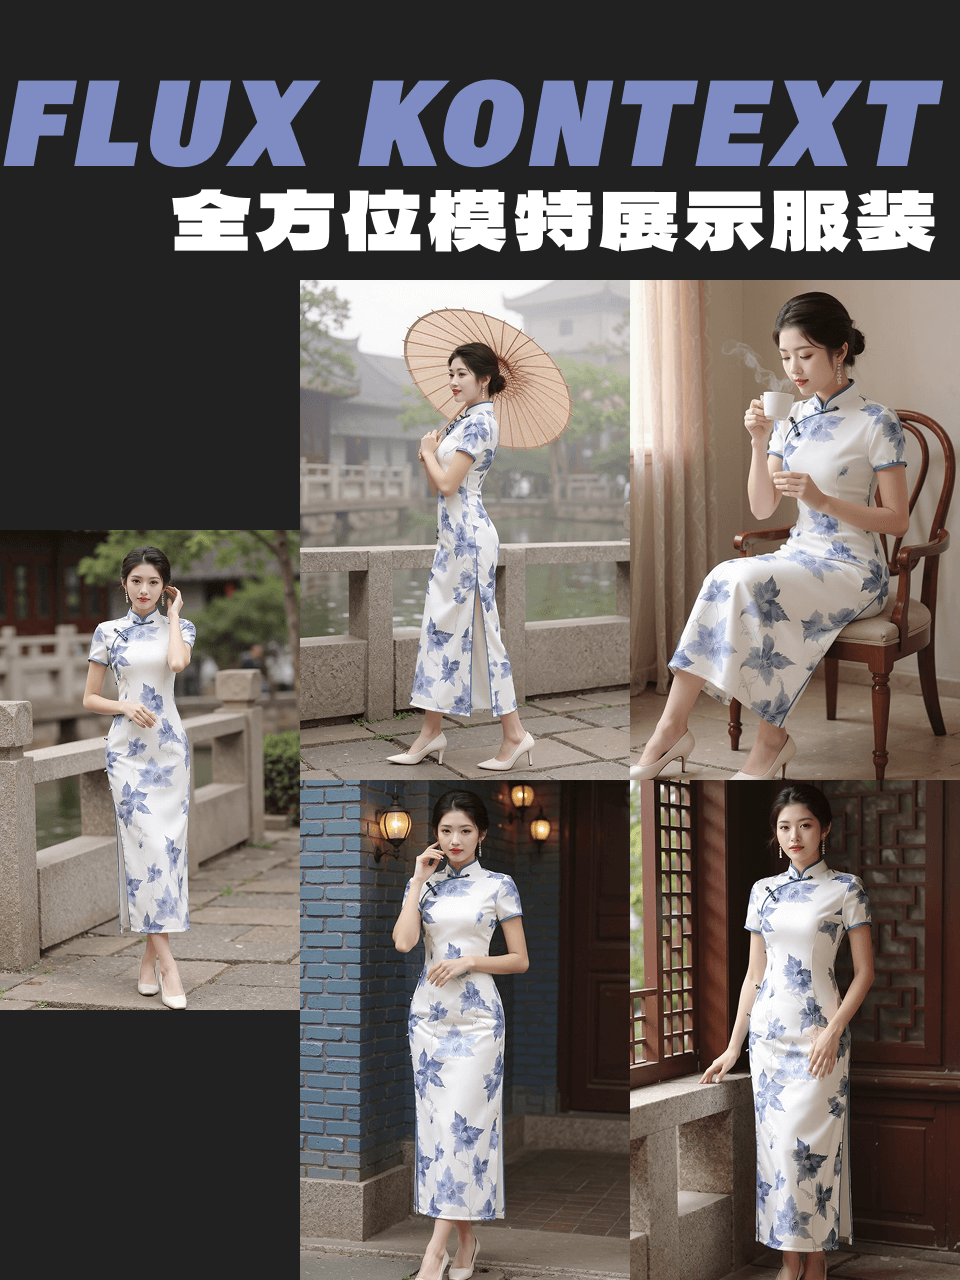
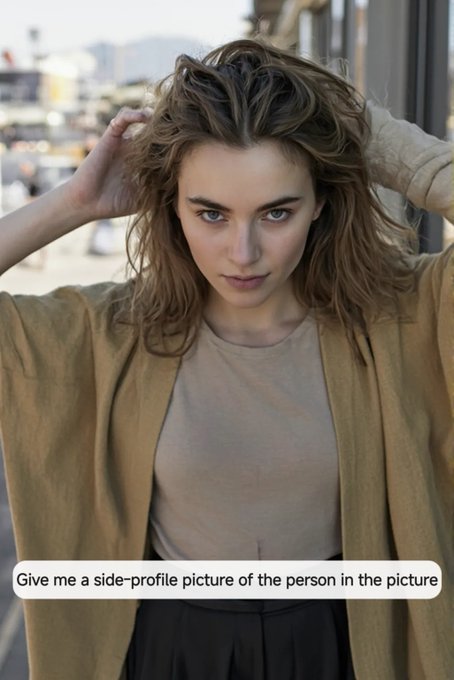
Edit Model Poses Like a Pro: A Step-by-Step Flux Kontext Workflow
ComfyUI.org •
Unlock Dark-Style Image Generation with AI-Powered Hybrid Workflow
ComfyUI.org •
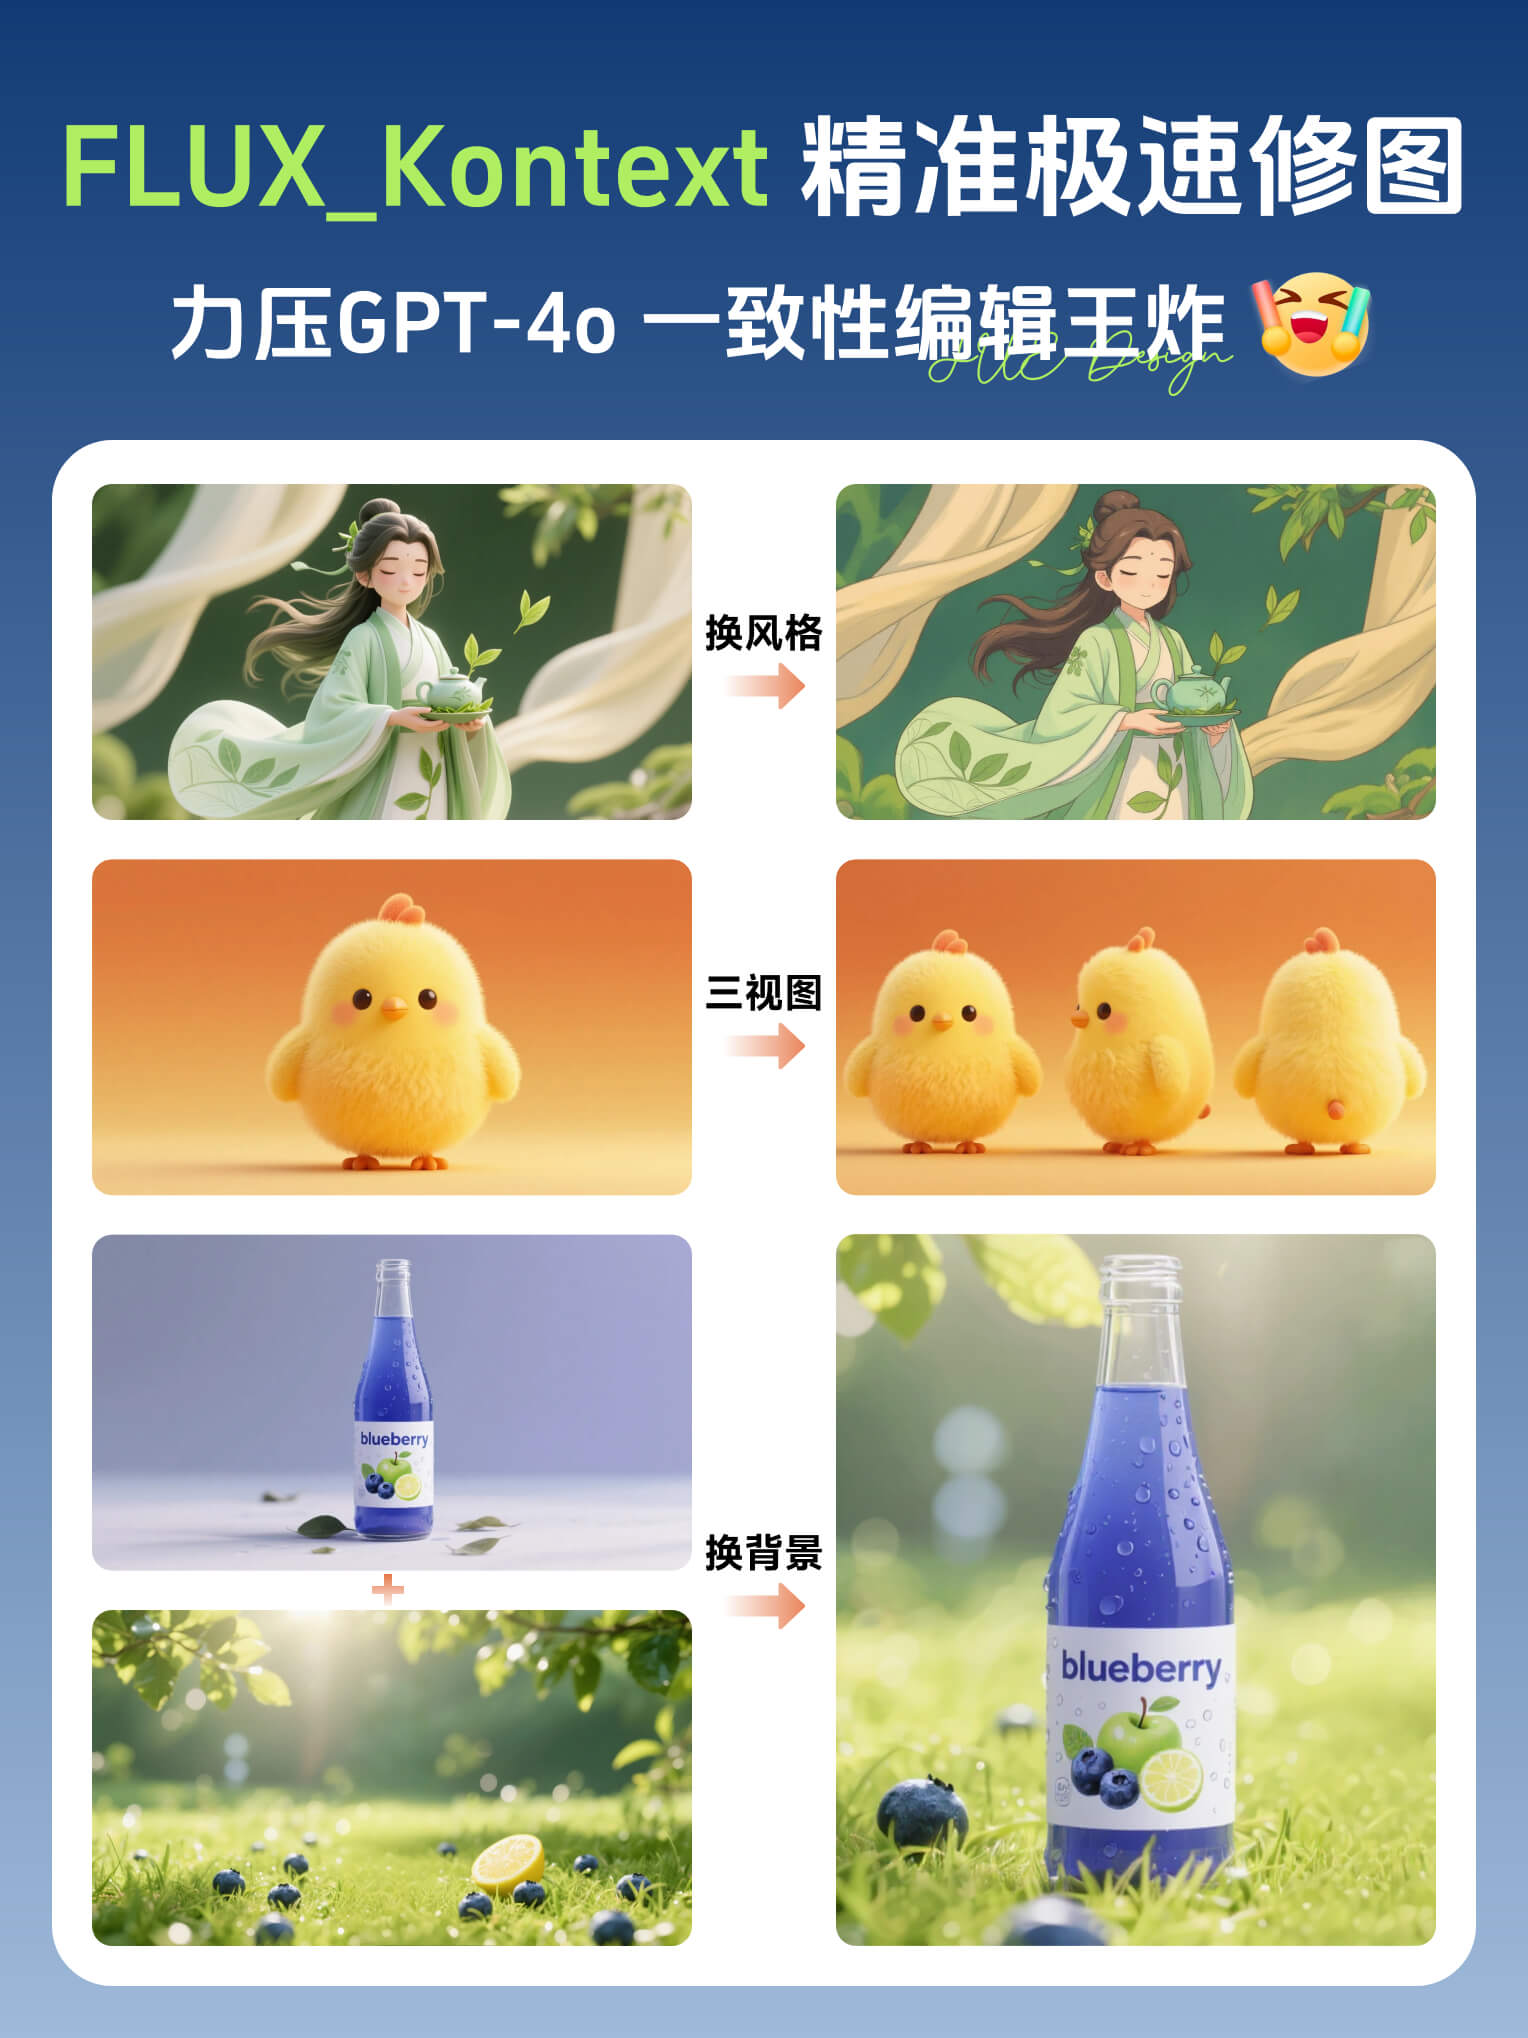
8 Revolutionary Use Cases of Flux Kontext You Can't Miss
ComfyUI.org •
FLUX|Kontext: The Ultimate AI Image Editing Workflow for Pros
ComfyUI.org •
Revolutionize Your Visual Content: High-Efficiency Image Editing Workflow
ComfyUI.org •
Cinematic Lighting Made Easy: A Beginner's Guide to Advanced Portrait Enhancement
ComfyUI.org •
ComfyUI Now Offers Native Support for NVIDIA’s Powerful Cosmos-Predict2 Model Suite
ComfyUI.org •
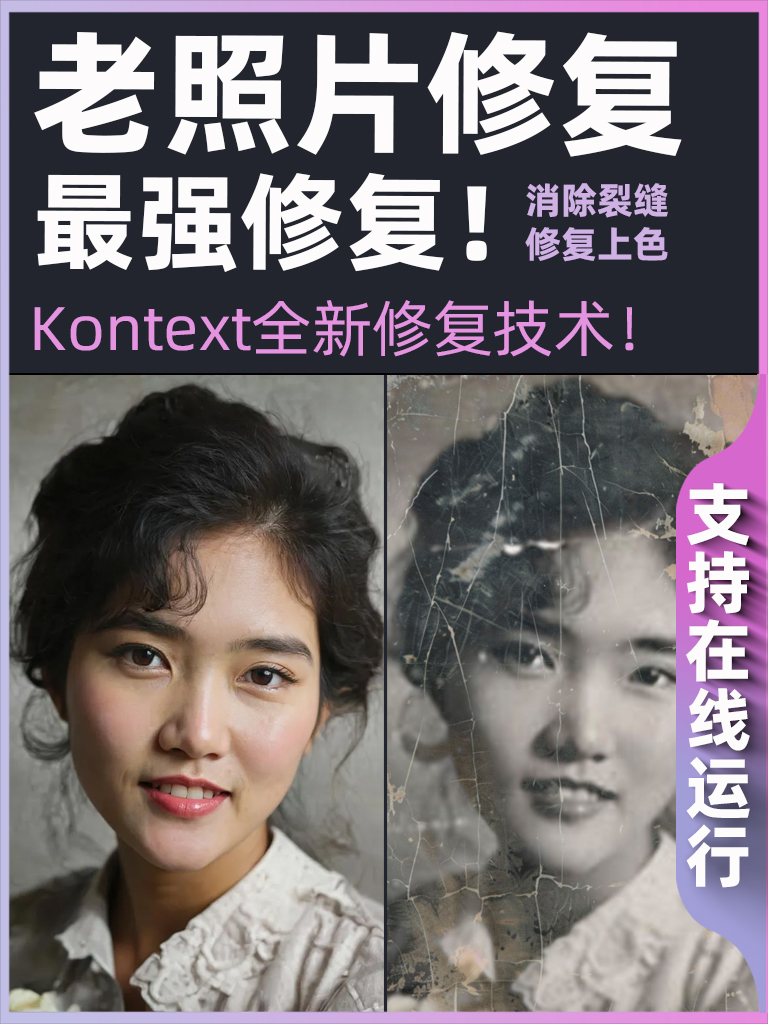
Unlock the Secrets of Old Photo Restoration: A Comprehensive Workflow
ComfyUI.org •
Unlock the Magic of Van Gogh: AI-Generated Sea and Sky Masterpieces
ComfyUI.org •
Unlock Creative Image Fusion: A Step-by-Step Workflow Guide
ComfyUI.org •
ComfyUI Subgraph I/O System: Beta Enhancements Released
ComfyUI.org •
Crystal Clear Videos: A Step-by-Step Guide to Dynamic Cutting Animations
ComfyUI.org •
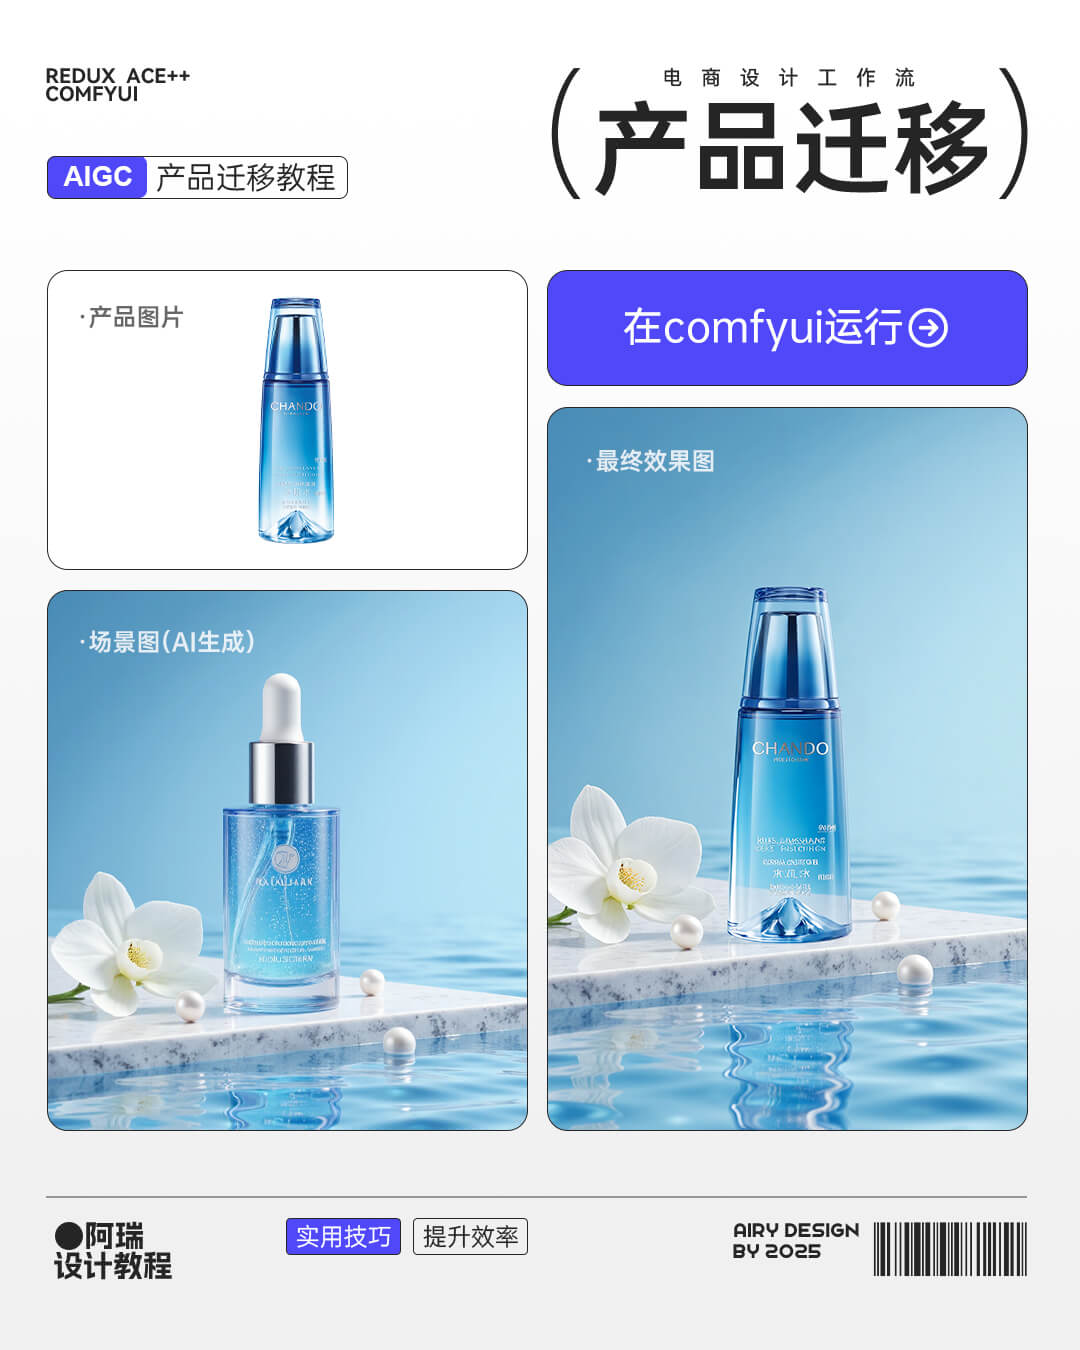
Transform Your Product Images with AI-Driven Background Swap and Clothing Swap
ComfyUI.org •
Flux-Kontext: The Ultimate Image Editing Solution for E-commerce and Design
ComfyUI.org •
Bring New Life to Old Photos: Advanced Damage Repair and Super-Resolution
ComfyUI.org •
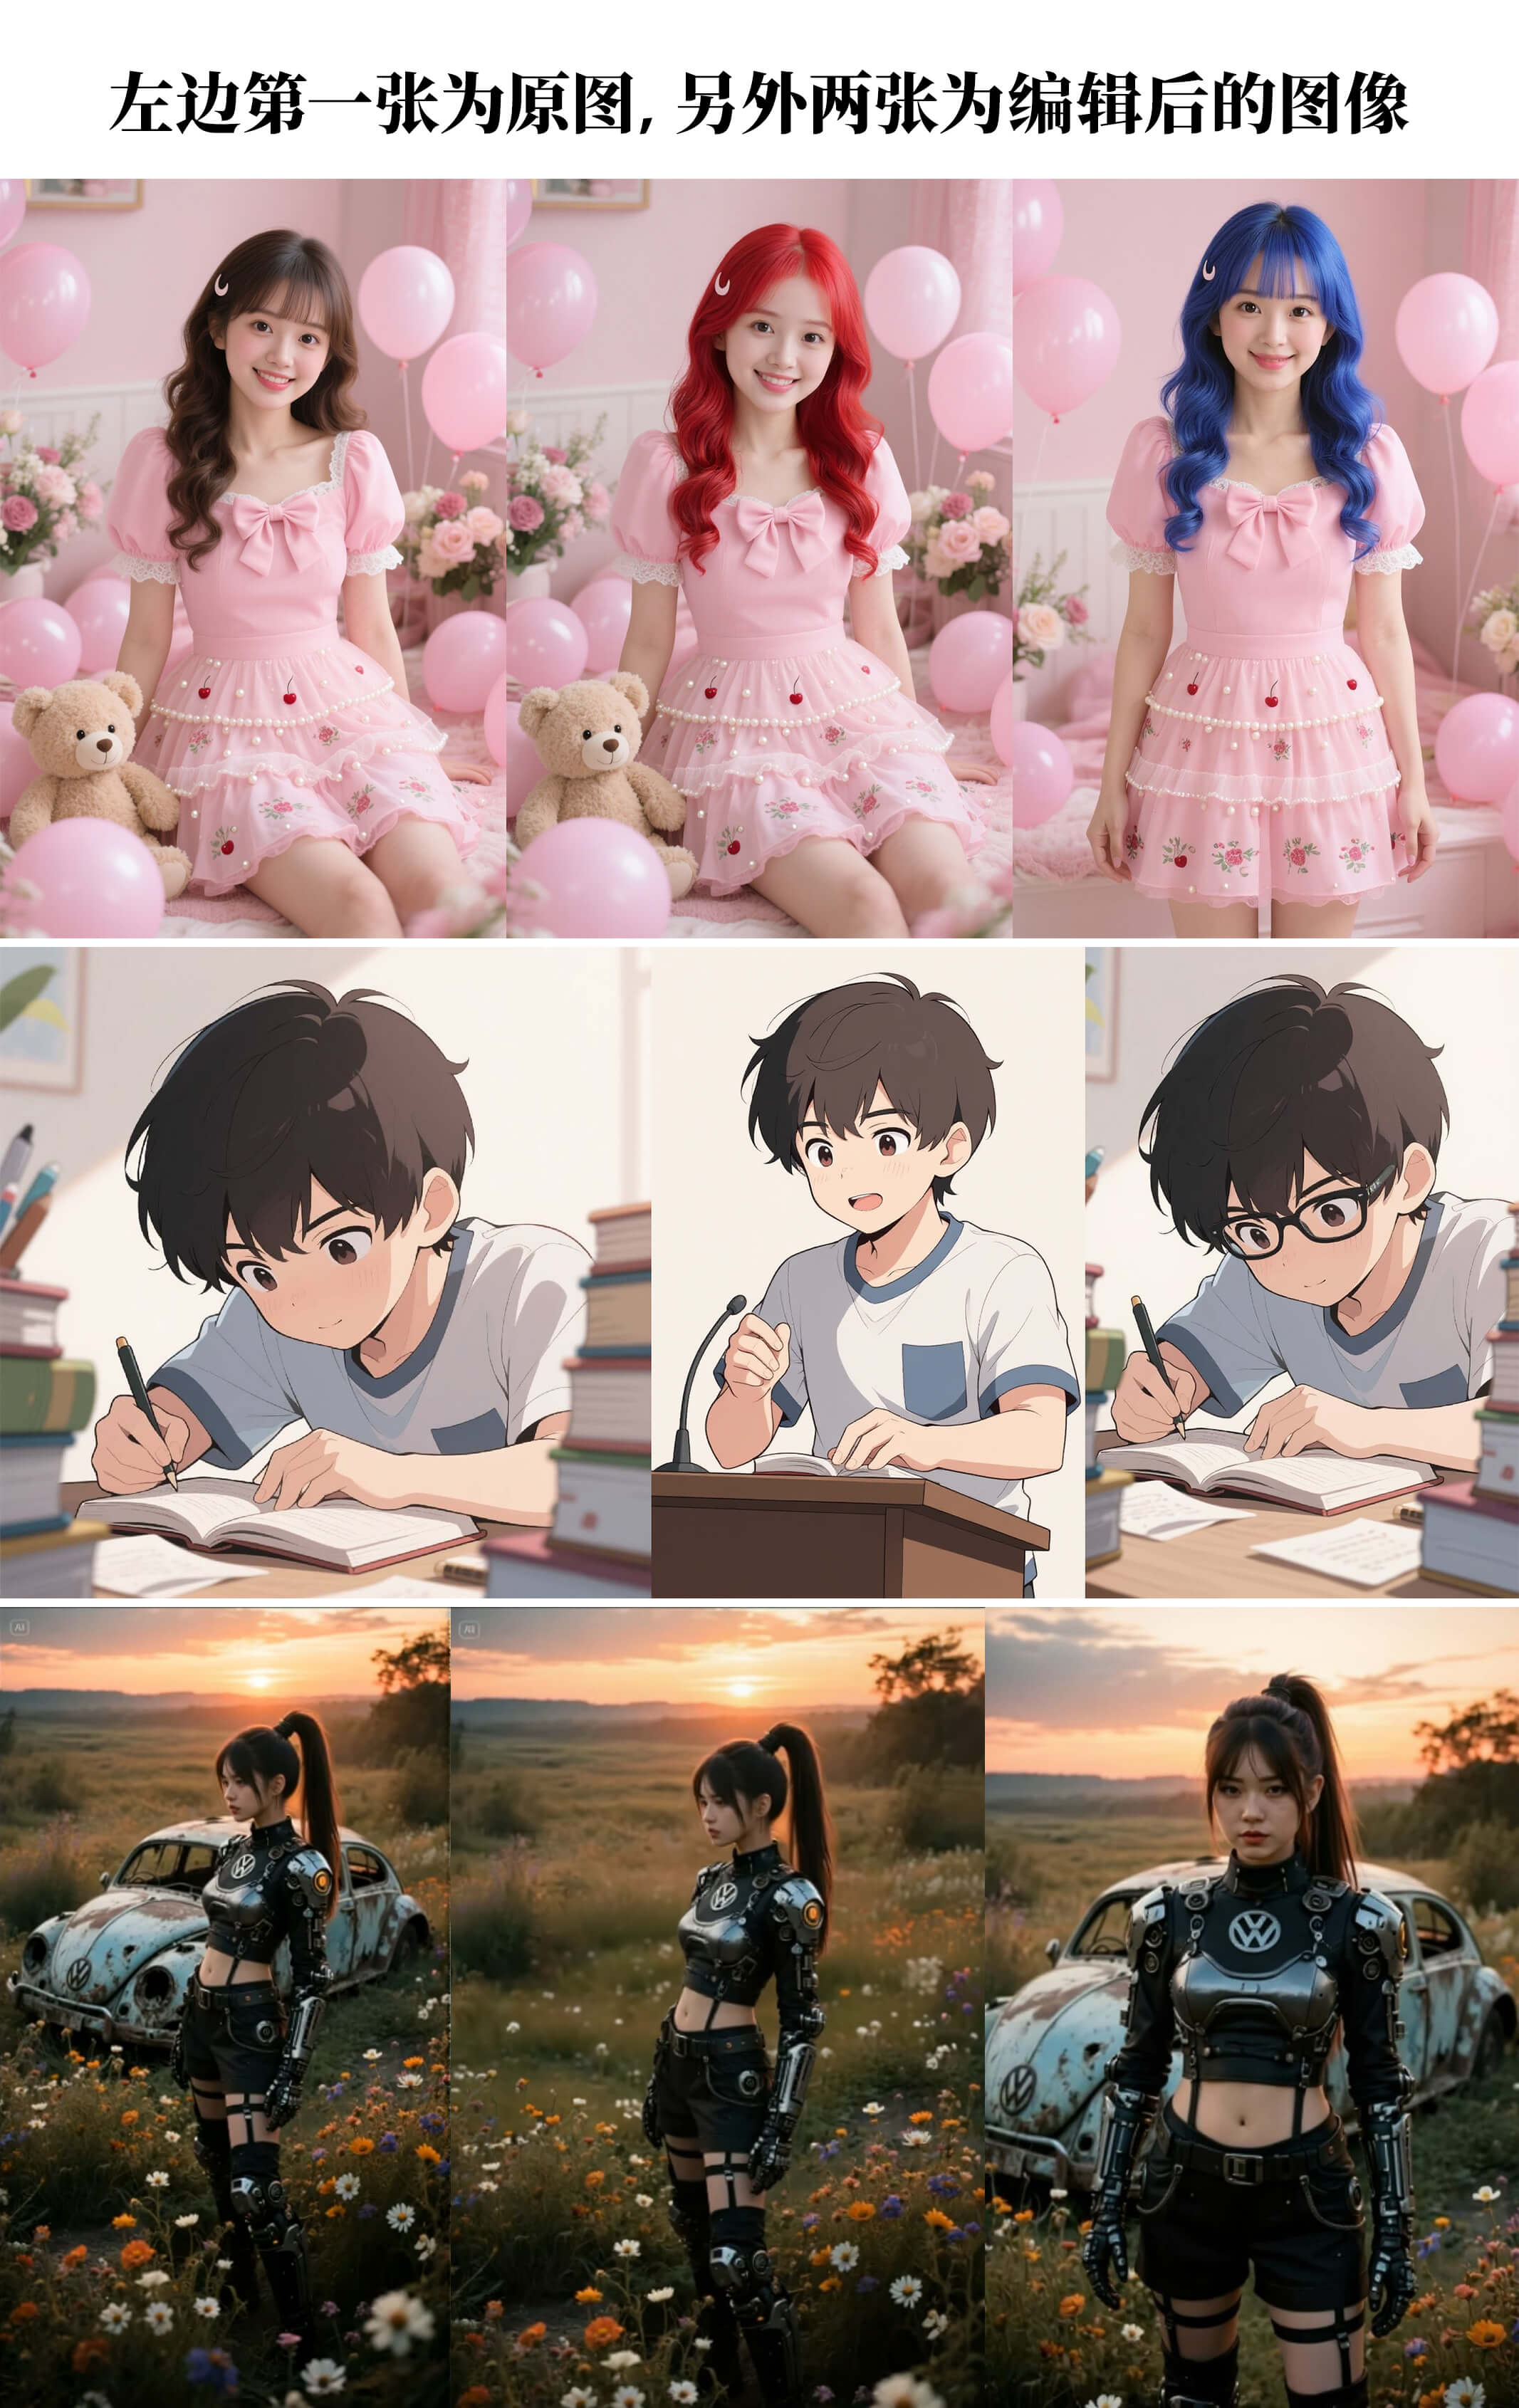
Unlock Consistent Anime-Style Characters with AI-Driven Workflow
ComfyUI.org •
Previous
1
2
More pages
17
Next
tag cloud
tutorial
(2)
downloads
(1)