ComfyUI.org
news
workflow
tutorial
collections
blog
Change Language
切换主题
Login
Unlock Stunning 360° Panoramas with AI: A Step-by-Step Guide
ComfyUI.org •
Unlock Advanced Image Synthesis with FLUX ControlNet V3.0 Workflow
ComfyUI.org •
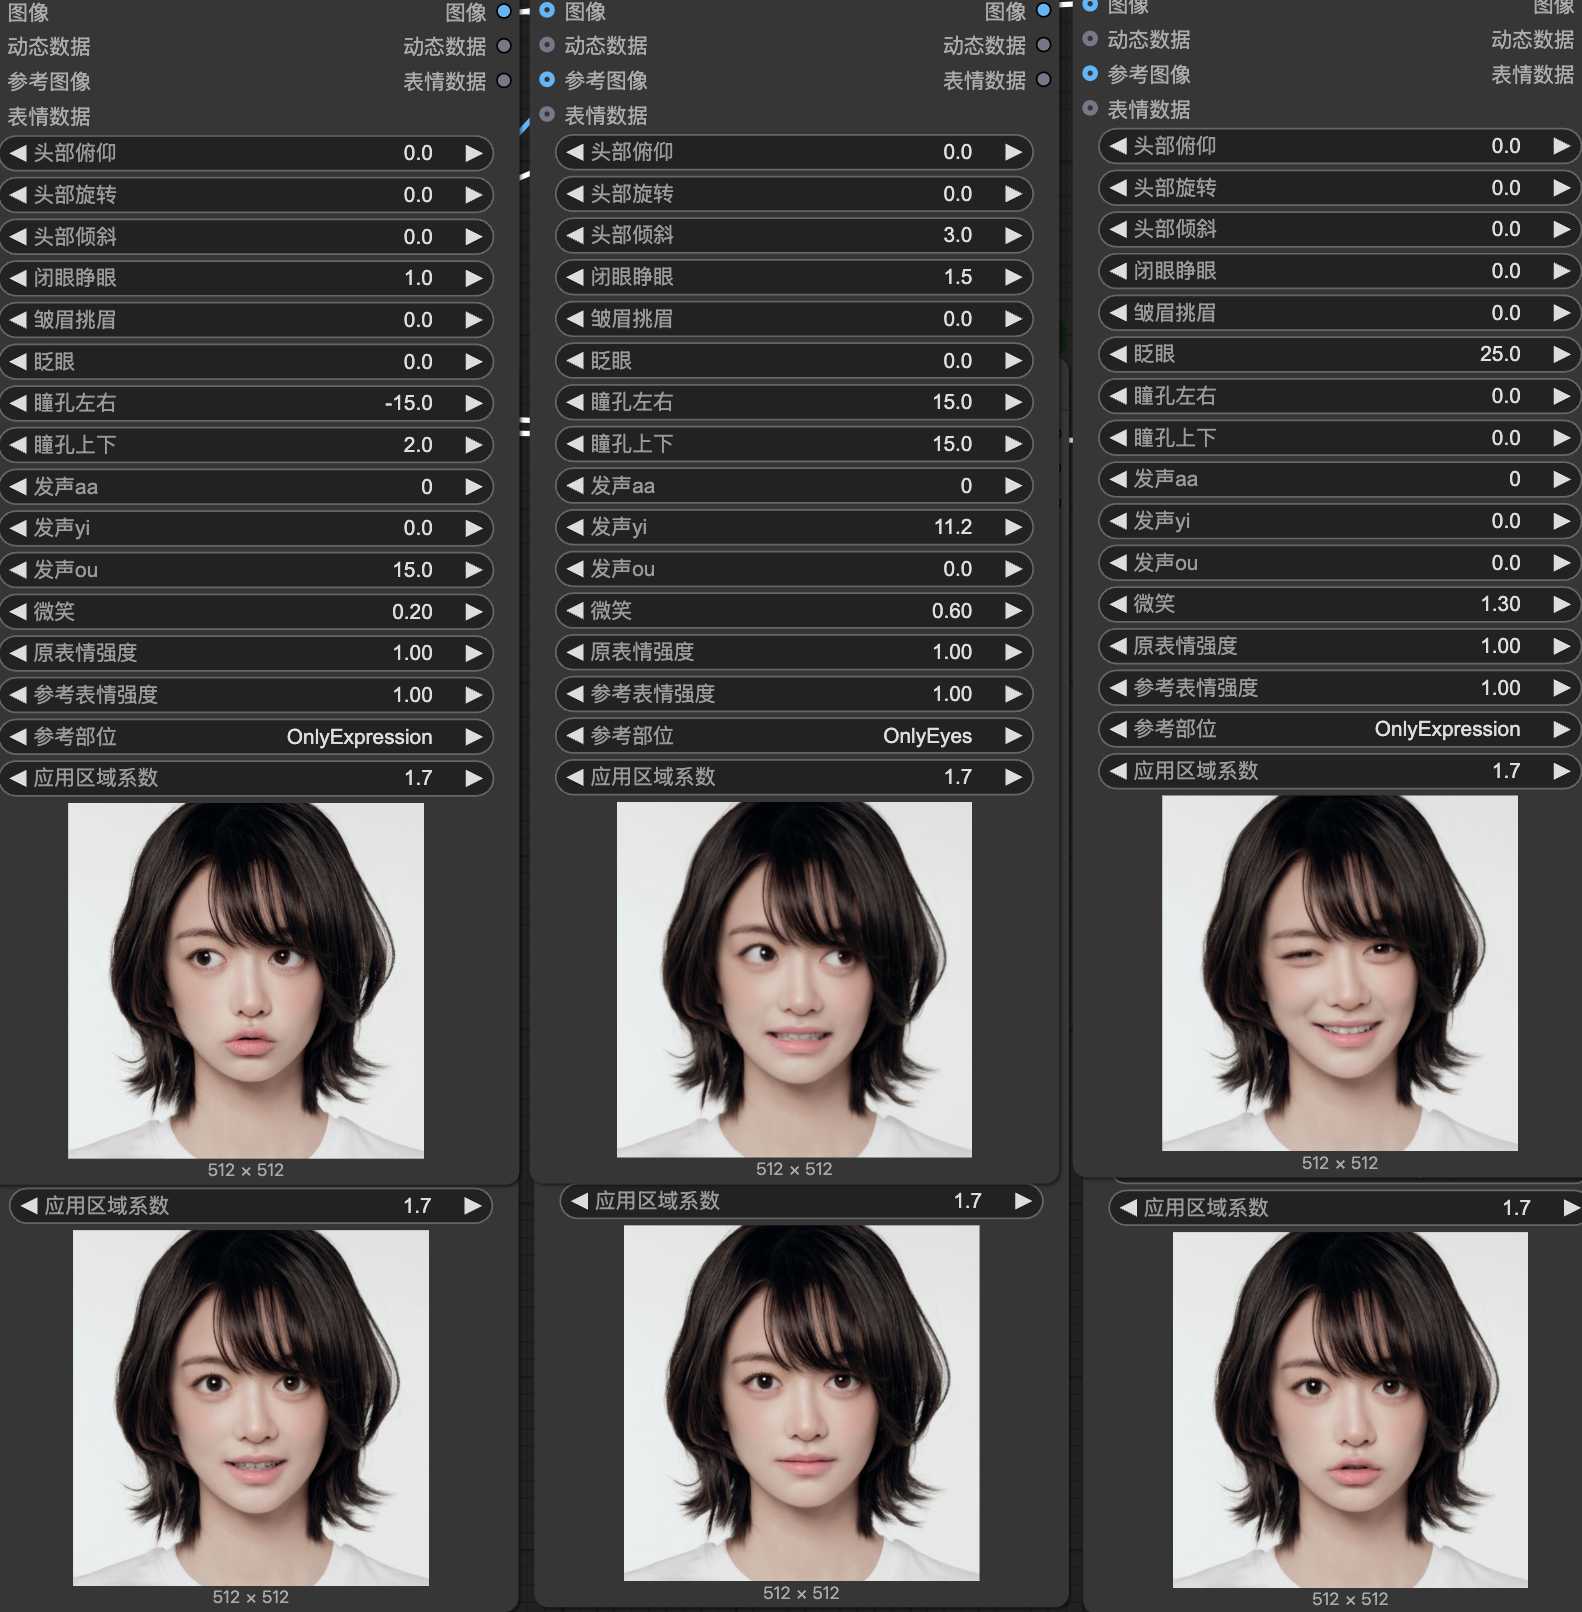
Create 6 Emotions from 1 Portrait: A Comprehensive Guide to ExpressionEditor
ComfyUI.org •
Unlock Multi-View Consistency: AI Model Image Generation Workflow
ComfyUI.org •
Unlock Holographic Visuals: Advanced Image Translation Workflow Revealed
ComfyUI.org •
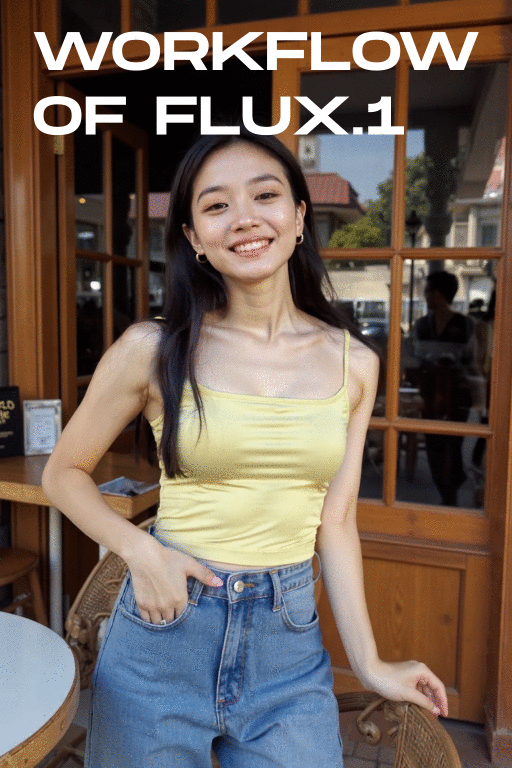
Unlock FLUX: The Ultimate Multimodal Workflow for Text-to-Image and Image Captioning
ComfyUI.org •
Skin Perfection Unleashed: A Comprehensive FLUX Workflow Tutorial
ComfyUI.org •
Create Mesmerizing Dance Anime with 3x Frame Interpolation and Face Swapping
ComfyUI.org •
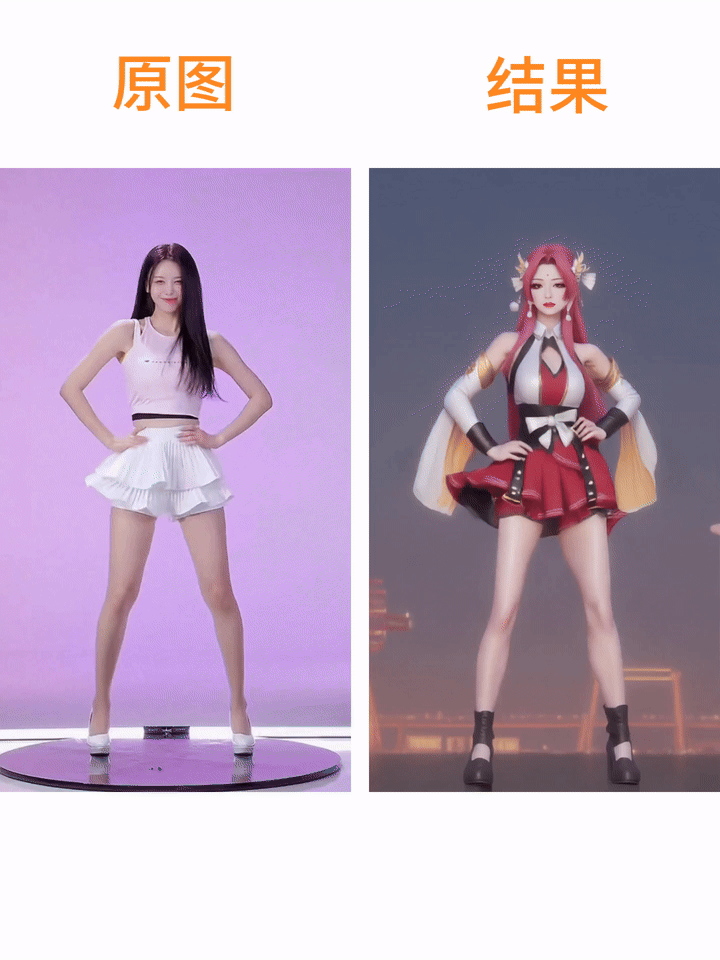
From Pixels to Perfection: Mastering AI-Generated Clothing Replacement
ComfyUI.org •
Re-Style Your World: Expert-Level Anime Art with Flux Architecture
ComfyUI.org •
Bringing Spaces to Life: An Advanced Interior Design Visualization Workflow
ComfyUI.org •
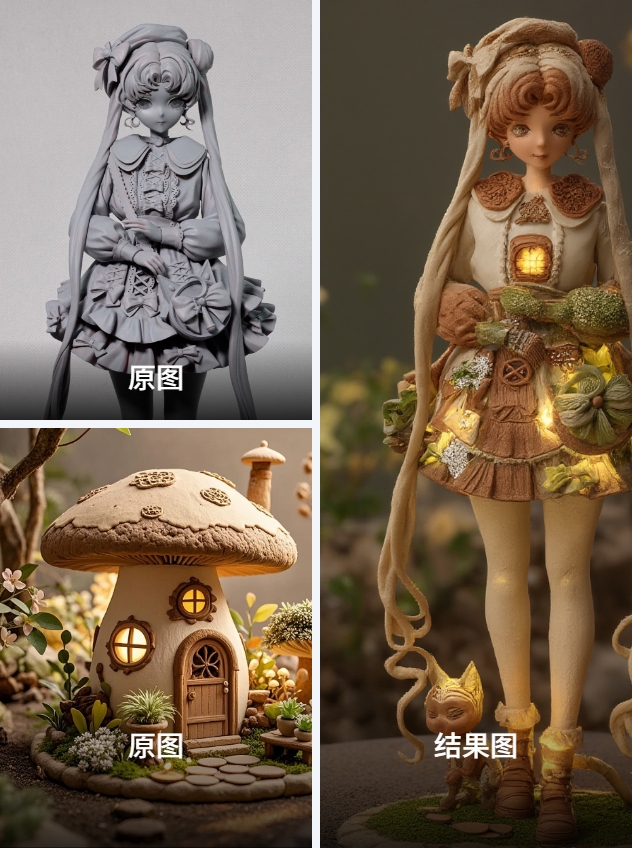
Unveiling the Art of AI-Generated Chinese Paper-Cut Style Masterpieces
ComfyUI.org •
Unleash Dynamic Videos with Angry Facial Expressions: A Step-by-Step Workflow
ComfyUI.org •
Unlock Smooth Animation Transitions with AI-Powered Video Upscaling
ComfyUI.org •
GPT Killer: FLUX.1 Kontext API Node Day-0 Support
ComfyUI.org •
Introducing the Comfy Bounty Program
ComfyUI.org •
Unlock AI-Generated Videos with Wan2.1 Model Inference: T2V & I2V Made Easy
ComfyUI.org •
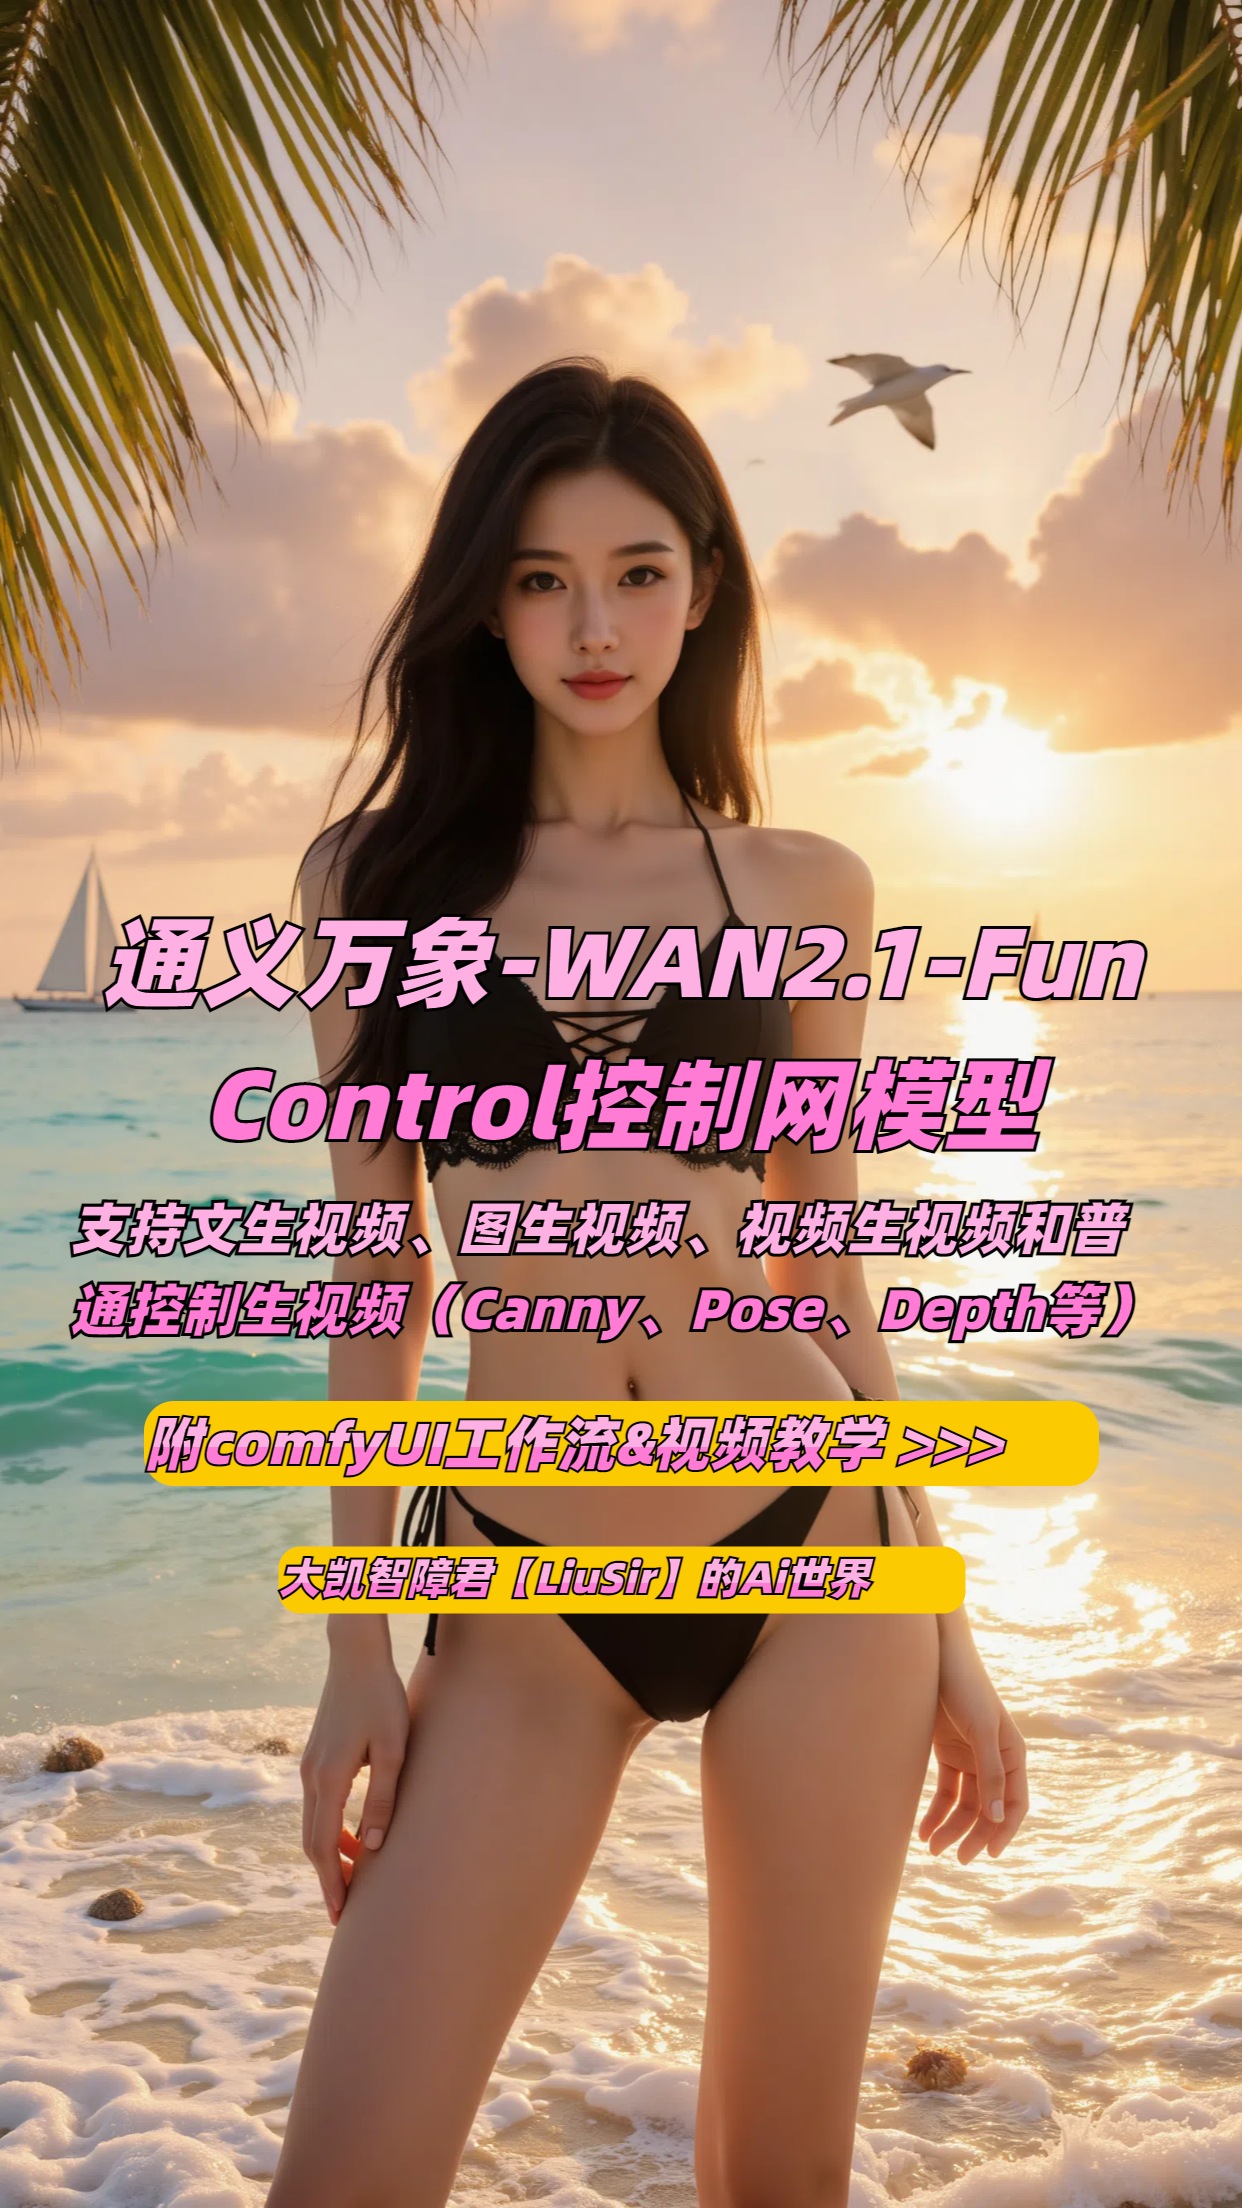
From Pose to Playback: Mastering Video Generation with Tongyi Wanxiang's Fun-ControlNet
ComfyUI.org •
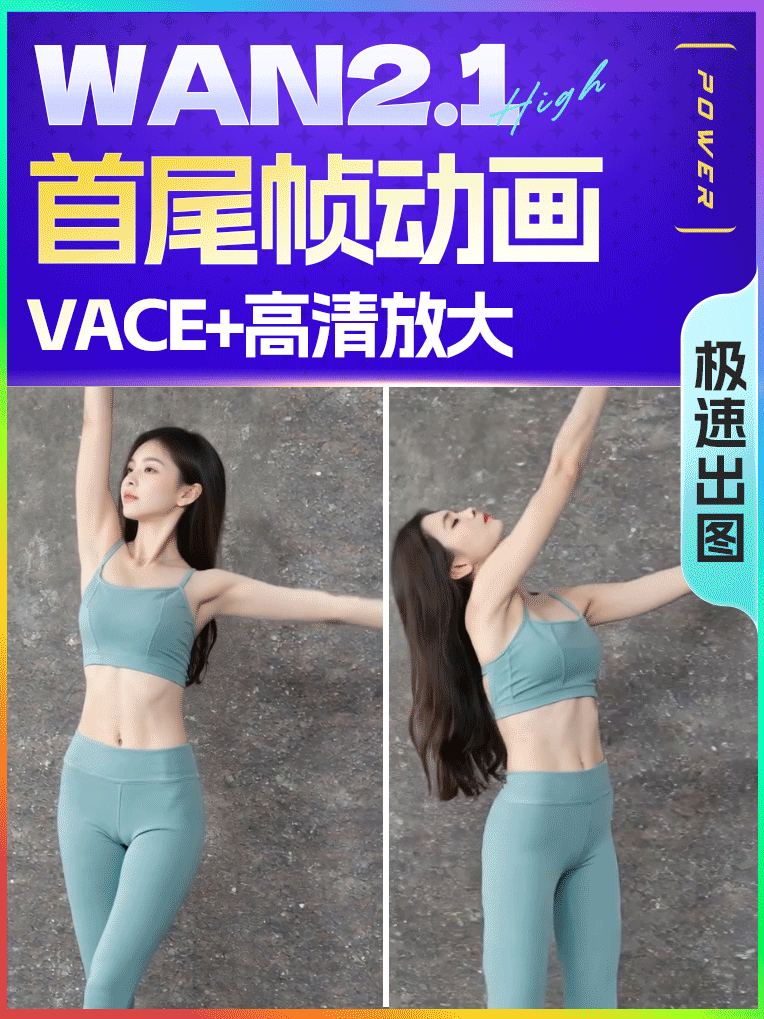
Mastering Video-to-Video Translation: A Deep Dive into Wan2.1 VACE Model and ComfyUI
ComfyUI.org •
Unlock the Power of Aging Timelapse Videos with Wan2.1 Model Workflow
ComfyUI.org •
Previous
1
2
More pages
14
Next
tag cloud
tutorial
(2)
downloads
(1)

.png)