Cutout Made Easy: A Comprehensive Guide to ComfyUI's CLIP-Powered Image Generation
Workflow Overview
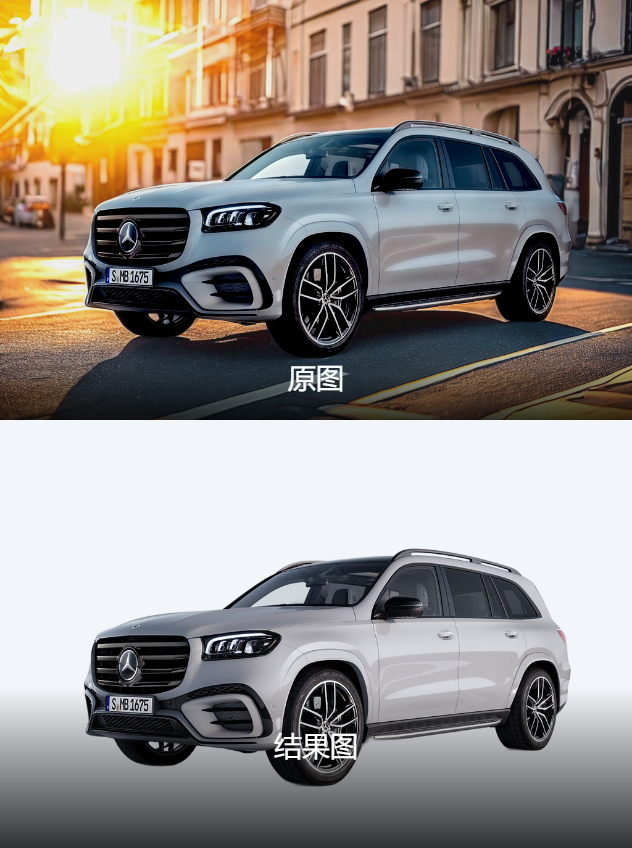
This workflow aims to implement the one-click cutout feature using ComfyUI. It uses the CLIP model to generate conditioning inputs, which are then processed by the AWPainting model for image generation. The final result is the generated image, saved locally.
Core Models:
AWPainting_v1.3: This is the primary image generation model, which generates images based on text inputs.
CLIP Model: Used to generate conditioning inputs that guide and refine the generated image.
Key Components:
CLIPTextEncode: Converts text prompts into image conditioning inputs.
EmptyLatentImage: Generates an empty latent image as a starting point for image generation.
KSampler: Samples different variants of images based on the conditioning inputs.
VAEDecode: Decodes the latent image into the final visible image.
SaveImage: Saves the generated image to disk.
Workflow Structure: The workflow is divided into several stages:
Text Conditioning Stage: The
CLIPTextEncodenode converts text prompts into conditioning inputs.Image Generation Stage: The
KSampleruses these conditions to generate latent images, which are then decoded into final images byVAEDecode.Image Saving Stage: The generated image is saved locally.
Inputs and Outputs:
Inputs: Text prompts (e.g., "beautiful scenery nature glass bottle landscape"), AWPainting model.
Outputs: The generated image, saved locally.
Notes:
Make sure the AWPainting_v1.3 model is installed.
Ensure the GPU has enough VRAM, preferably 16GB or more.