Cinematic Lighting Made Easy: A Beginner's Guide to Advanced Portrait Enhancement
1. Workflow Overview
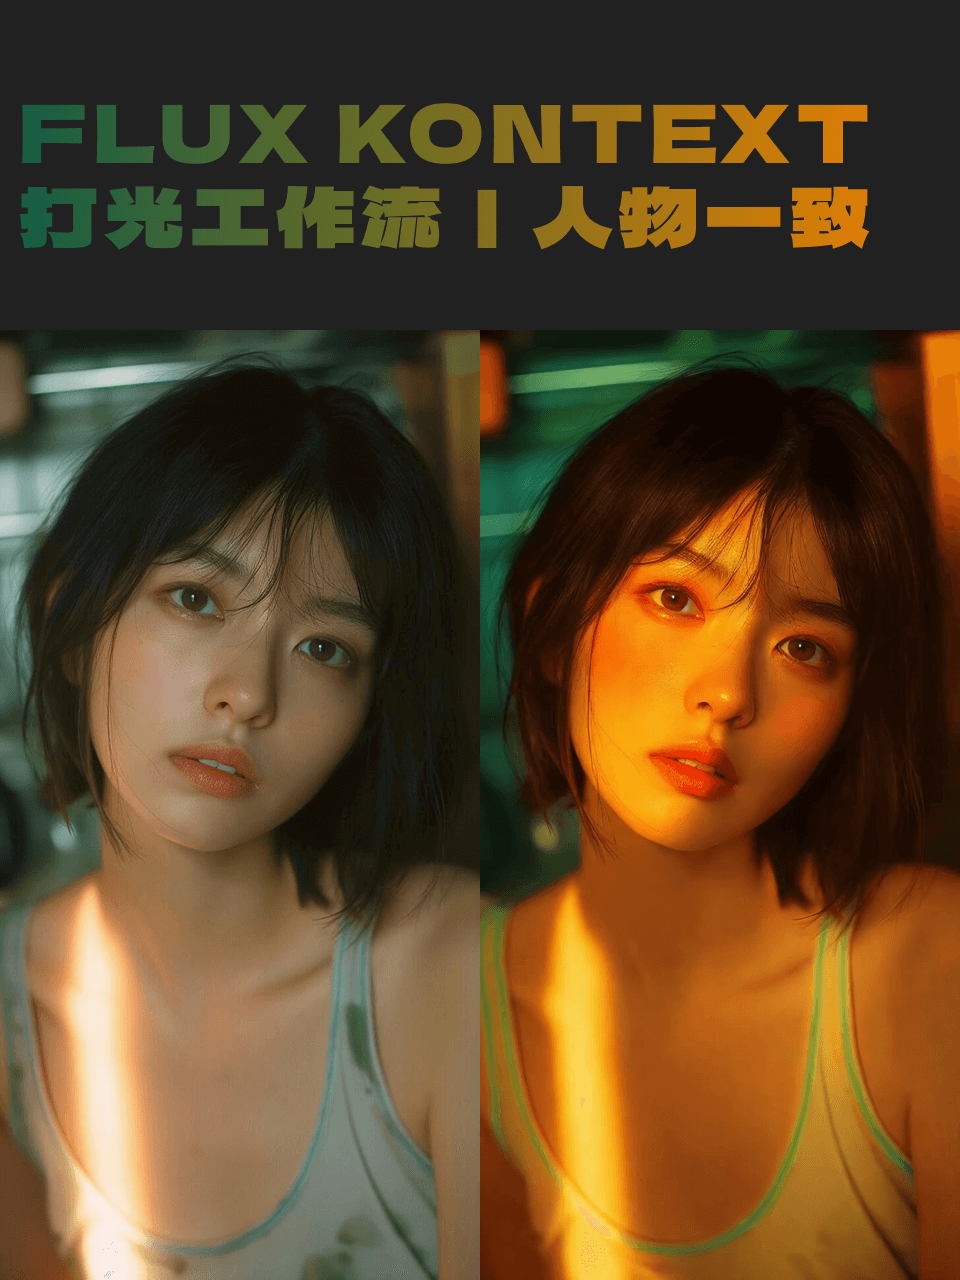
This workflow specializes in portrait lighting enhancement, with key features:
Cinematic Lighting (e.g., Wong Kar-wai’s warm tones).
Character Consistency (preserves facial features/pose).
Atmosphere Boost (adds smoke, shadows for artistic effects).
2. Core Models
Model/Node Name | Function | Installation |
|---|---|---|
Flux.1 Kontext [Pro] | Advanced lighting/atmosphere generator with style prompts. | Manual install of |
Stable Diffusion XL | Base image model (implicitly used). | Via ComfyUI Manager |
3. Key Nodes
LoadImage: Loads input portrait (e.g.,
.jpgfrom social media).FluxKontextProImageNode: Core lighting node with parameters:
Prompt: E.g., "Wong Kar-wai lighting: low light, orange/red tones".
Seed: Fixed (e.g.,
866437459605198) for reproducibility.Strength: Default
1(adjusts light intensity).
SaveImage: Saves output.
Dependencies:
FluxKontextPro Plugin: Required for advanced lighting control.
4. Workflow Structure
Input Phase:
LoadImageimports the portrait (e.g., 1080x1440px).
Processing Phase:
FluxKontextProImageNodeapplies lighting effects.
Output Phase:
Results saved via
SaveImage.
5. Inputs & Outputs
Inputs:
Image file (≥1080x1440 recommended).
Style prompt (e.g., "Wong Kar-wai style").
Seed (optional).
Output: PNG/JPG with enhanced lighting.
6. Notes
VRAM: 8GB+ recommended (e.g., RTX 3060).
Prompt Tips: Use director/style names (e.g., "Wong Kar-wai") for best results.
Debugging: Adjust
StrengthinFluxKontextProImageNode(default1).